Schedules
A schedule defines time windows, such as peak tariff hours. Input processes and virtual feeds use a schedule to act differently inside and outside the windows. Open the page from Setup > Schedule.
Create a schedule
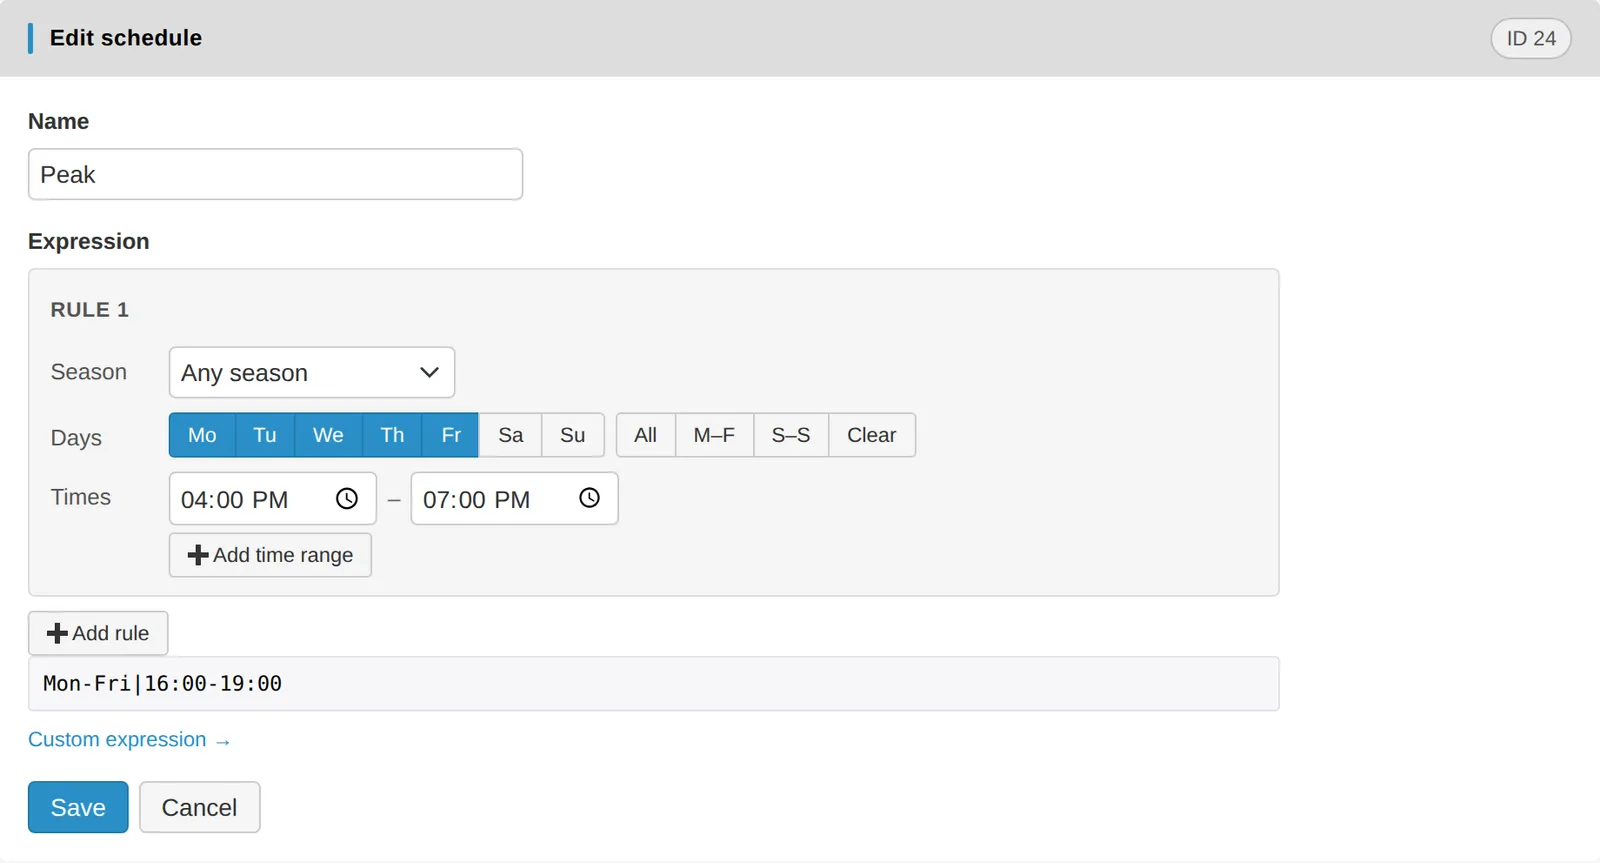
Click New schedule and enter a Name.
Build the schedule from rules. For each rule:
Season: Any season, Summer (DST on) or Winter (DST off).
Days: tick the days, or use All, M–F or S–S. No days ticked means any day.
Times: set a time range. Click Add time range for more.
Click Add rule for another rule.
Click Save.
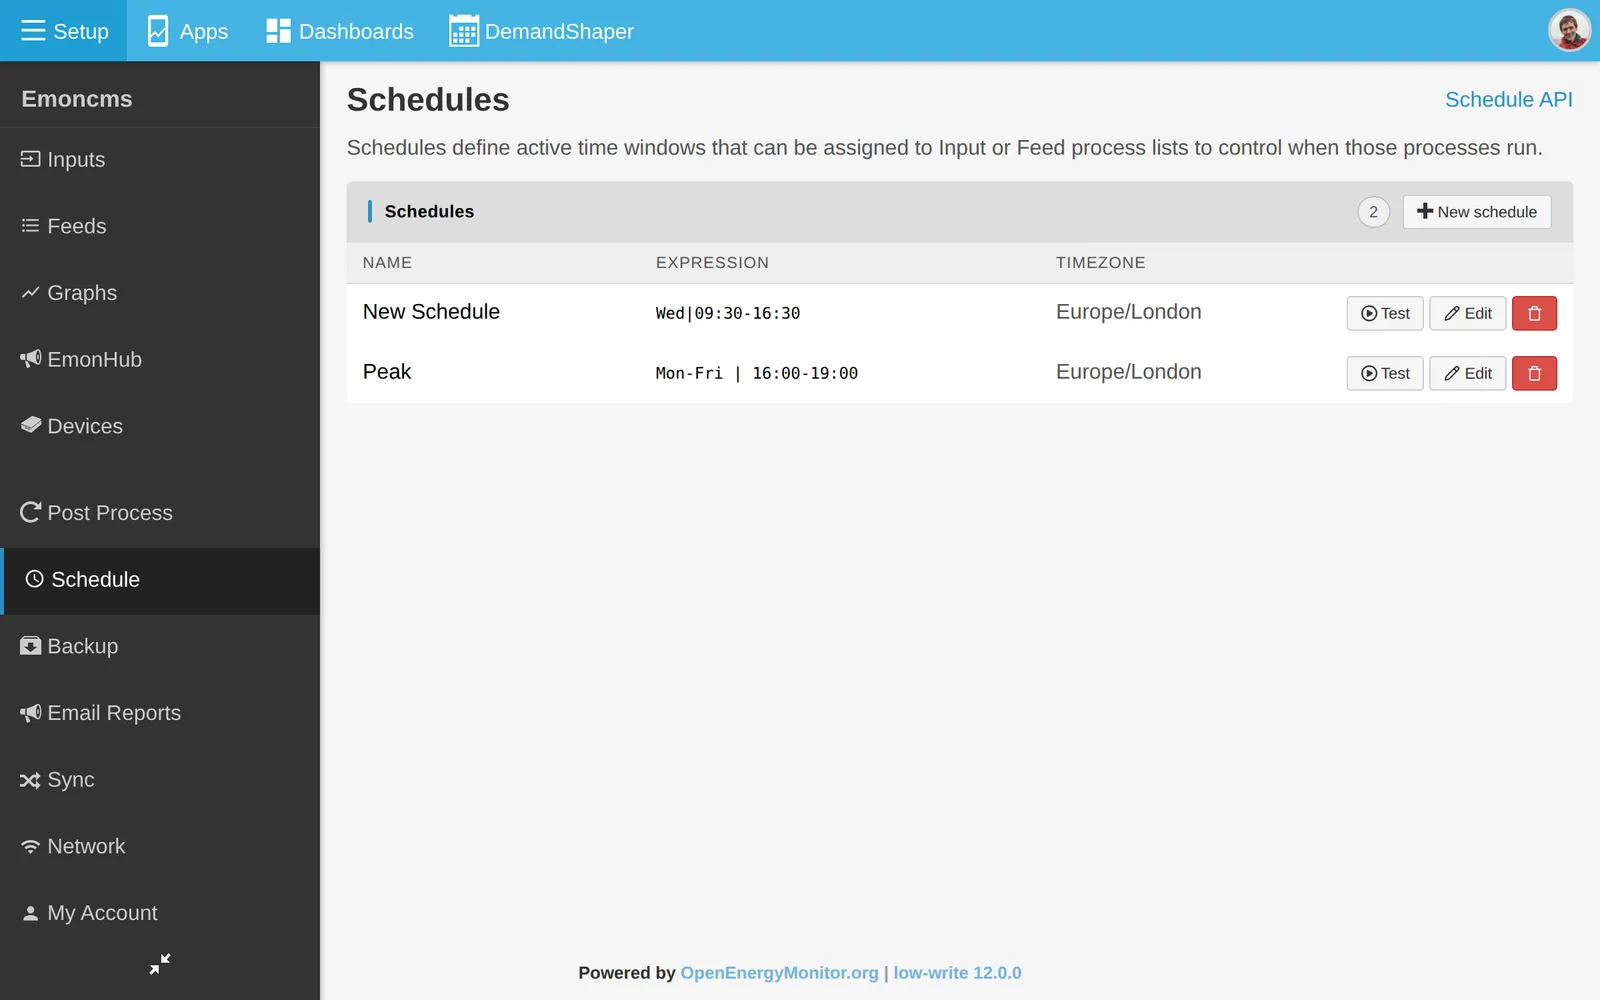
Click Test on a schedule to check whether it is active now.
The schedule uses the timezone of the user who last saved it.
Expressions
Each schedule is stored as an expression, shown in the Expression column. Click Custom expression to type one.
An expression has blocks separated by |. Blocks can be a season (Summer, Winter), a date (mm/dd), days (Mon…Sun) and times (hh:mm). Use - for a range and , to add another rule.
Winter | Mon-Fri | 09:00-09:59, Summer | Mon-Fri | 08:00-08:59
Use a schedule
These input and virtual feed processes use a schedule:
Process |
Effect |
|---|---|
If schedule, ZERO |
Set the value to zero inside the schedule |
If schedule, NULL |
Set the value to null inside the schedule |
If !schedule, ZERO |
Set the value to zero outside the schedule |
If !schedule, NULL |
Set the value to null outside the schedule |
For example, to record peak and off-peak energy from one power input:
Power to kWh to a feed
use_kwh.If !schedule, ZERO with the peak schedule.
Power to kWh to a feed
peak_kwh.Reset to Original.
If schedule, ZERO with the peak schedule.
Power to kWh to a feed
offpeak_kwh.
For virtual feeds, see Virtual feeds.