Configuration
Default configuration
Updated 14th May 2024 to reflect updated configuration for new firmware release. These use the same calibration format for both emonLibCM based firmwares and emonLibDB based firmwares.
The emonTx4 comes as standard with the following default configuration:
emonVs: (Vcal: 101.3)
CT 1: 100A 0.333V (Ical: 100.0, Ilead: 3.2)
CT 2: 50A 0.333V (Ical: 50.0, Ilead: 3.2)
CT 3: 50A 0.333V (Ical: 50.0, Ilead: 3.2)
CT 4: 20A 0.333V (Ical: 20.0, Ilead: 3.2)
CT 5: 20A 0.333V (Ical: 20.0, Ilead: 3.2)
CT 6: 20A 0.333V (Ical: 20.0, Ilead: 3.2)
Transmit via RFM69CW: ON
Radio nodeid: 17
Radio group: 210
Radio frequency: 433 MHz
Datalogging period: 9.8s
Minimum pulse period: 100ms
To use the emonTx4 with a different CT arrangement, radio node or group, these settings can be adjusted over serial using either an online web tool or directly via a serial console.
Alternatively it’s possible to configure the emonTx4 directly via serial using the arduino serial.
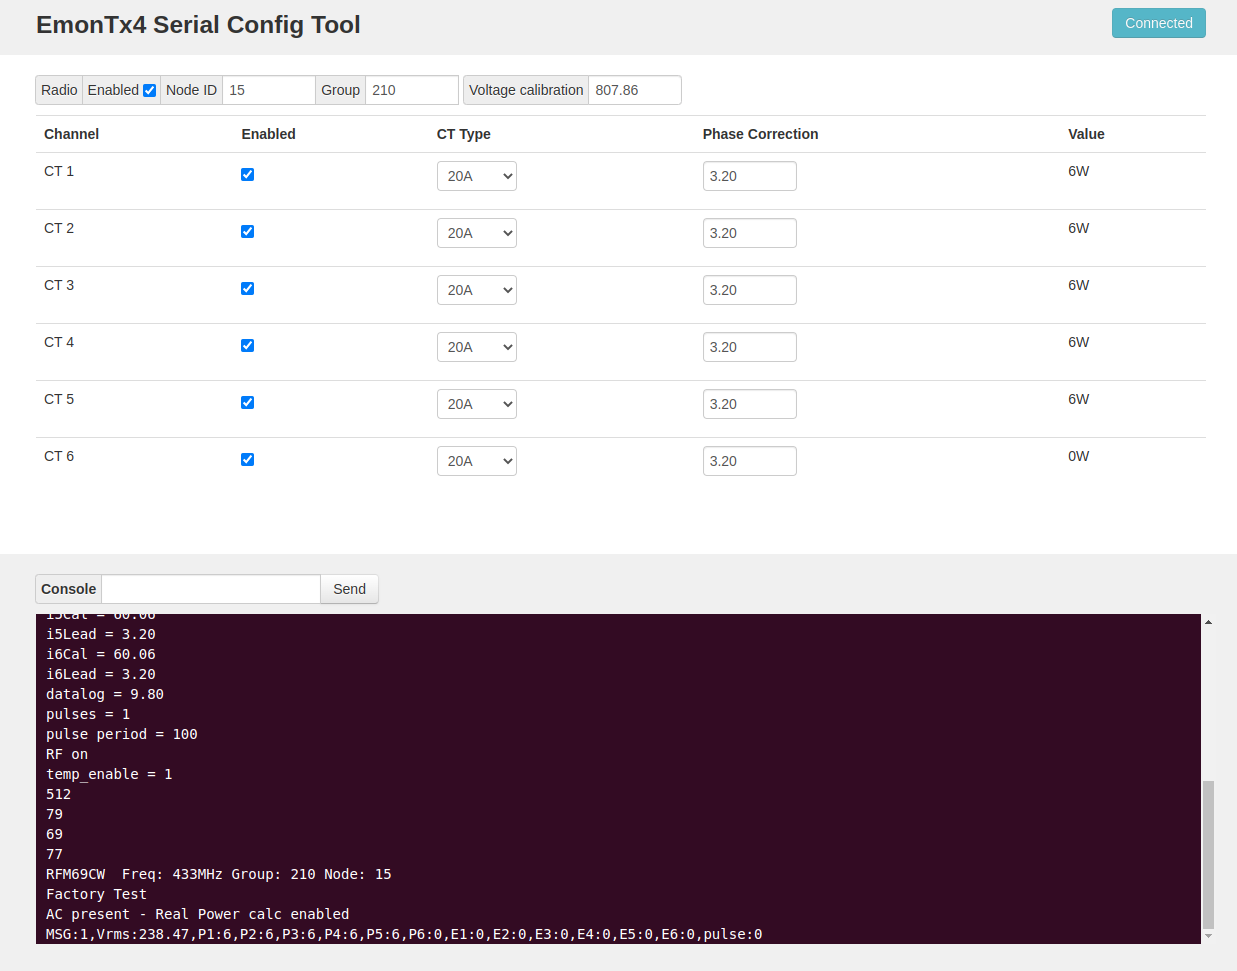
Using the web tool
Note: Communication via USB-C will only work if connected in the right orientation. Try turning the USB-C connector around if upload fails. Some USB-C connectors have a smooth side on one side and jagged connection of the metal fold on the other. On the cables we have here, the smooth side should be facing up towards the top/front face of the emonTx4:

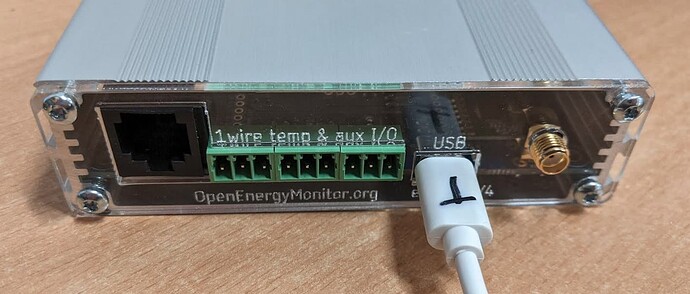
With the emonTx connected to a computer via a USB-C to USB-A cable (USB-C to USB-C is not supported), it’s possible to configure the emonTx directly from a WebSerial compatible internet browser.
Note: To connect to a computer that only has a USB-C port, use a USB-C to USB-A cable, together with a USB-A to USB-C adaptor.
The process is plug-and-play on Mac and Linux, but windows users will need to install a driver for the emonTx serial (CP210x): Windows 10 Driver Download
Compatible browsers: Chrome, Edge, Opera
Launch the tool: openenergymonitor.org/serial
Click ‘Connect` and allow the connection to the serial port. The emonTx V4 appears as a CP210x serial port
Make changes to the configuration
Click ‘Save’
Monitoring data from the emonTx is displayed in the serial window
Note: Firefox is not currently supported
Directly via serial
Alternatively it’s possible to configure the emonTx4 directly via serial using the arduino serial monitor or other similar tool. The following details the available commands and their function.
Available commands:
l list the settings
r restore sketch defaults
s save settings to EEPROM
v show firmware version
z zero energy values
x exit, lock and continue
? show this text again
w<x> turn RFM Wireless data off: x = 0 or on: x = 1
b<n> set r.f. band n = a single numeral: 4 = 433MHz, 8 = 868MHz, 9 = 915MHz (may require hardware change)
p<nn> set the r.f. power. nn - an integer 0 - 31 representing -18 dBm to +13 dBm. Default: 25 (+7 dBm)
g<nnn> set Network Group nnn - an integer (OEM default = 210)
n<nn> set node ID n= an integer (standard node ids are 1..60)
d<xx.x> a floating point number for the datalogging period
c<n> n = 0 for OFF, n = 1 for ON, enable current & power factor values to serial output for calibration.
f<xx> the line frequency in Hz: normally either 50 or 60
k<x> <yy.y> <zz.z>
Calibrate an analogue input channel:
x = a single numeral: 0 = voltage calibration, 1 = ct1 calibration, 2 = ct2 calibration, etc
yy.y = a floating point number for the voltage/current calibration constant
zz.z = a floating point number for the phase calibration for this c.t. (z is not needed, or ignored if supplied, when x = 0)
e.g. k0 256.8
k1 90.9 2.00
a<xx.x> a floating point number for the assumed voltage if no a.c. is detected
m<x> <yy> meter pulse counting:
x = 0 for OFF, x = 1 for ON
yy = an integer for the pulse minimum period in ms. (y is not needed, or ignored when x = 0)
t<x> turn temperature measurement on or off: x = 0 for OFF, x = 1 for ON