Adding an emonTx4 to an existing installation
There are two ways to add an emonTx4 to an existing emonPi or emonBase installation:
Direct USB data connection
433MHz radio data connection
Direct USB data connection
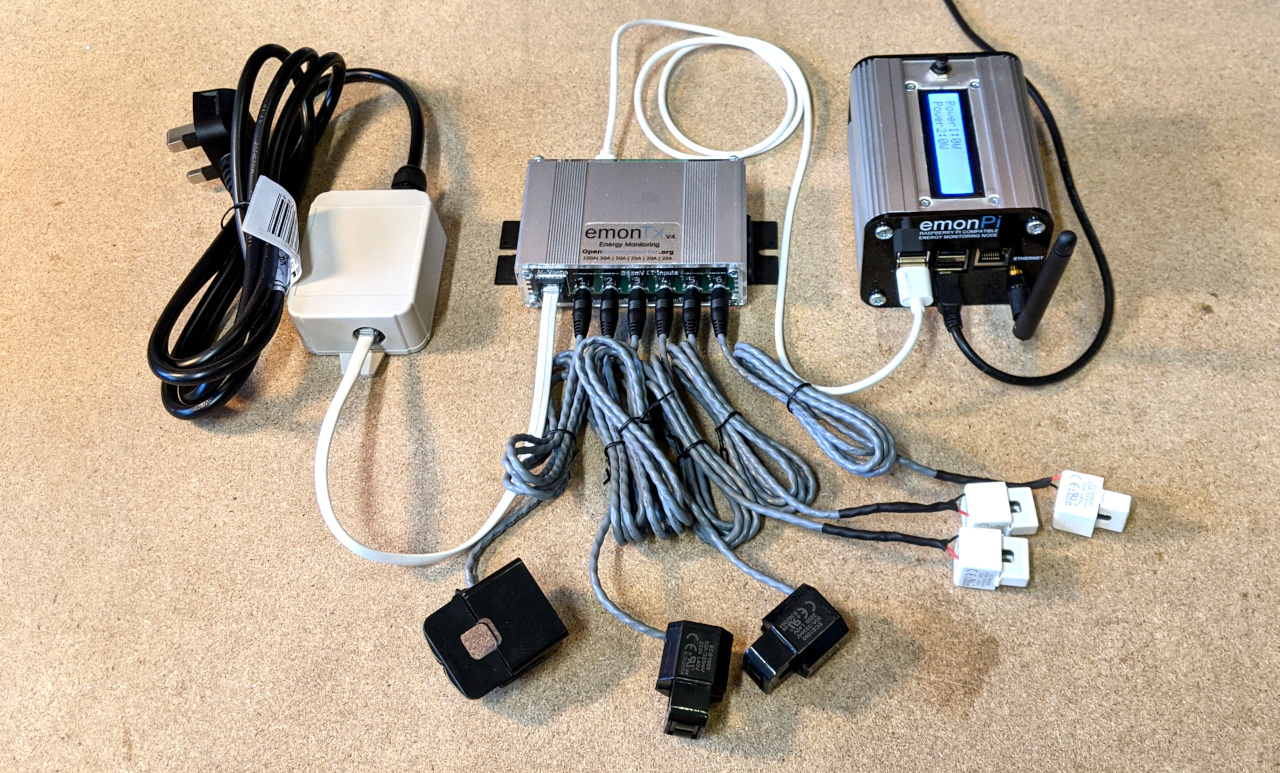
The emonTx4 can be connected to an existing emonPi via a USB-C to USB-A cable (as shown in the example picture above), measurement data can be transferred over USB. This provides a simple and reliable setup.
Tip: For a lower cost single-phase configuration the emonTx4 can be powered from the emonPi over the same USB connection. The emonTx4 can then use the emonVs-mini pictured above (voltage sensor only) rather than the full emonVs-psu (voltage sensor with integrated power supply).
Configuration
The main thing we need to do here is tell a piece of software on the emonPi called emonHub to read from the USB serial port.
Login to your local emonPi Emoncms account and navigate to Setup > EmonHub > Edit Config.
Under the
[interfacers]section add the following interfacer config:
[[USB]]
    Type = EmonHubOEMInterfacer
    [[[init_settings]]]
        com_port = /dev/ttyUSB0
        com_baud = 115200
    [[[runtimesettings]]]
        pubchannels = ToEmonCMS,
        nodename = emonTx4
If you have a relative new emonSD image, this interfacer configuration will already be populated.
With that in place you should now see the emonTx4 inputs appear in your Emoncms inputs list.
It is advisable to make sure that you are running the latest version of the emonHub software as it has a couple of improvements to make sure that the USB serial connection recovers automatically after a failure such as unplugging and plugging back in the USB cable.
If you have multiple USB ports in use there is a risk that a device on /dev/ttyUSB0 might swap around with another on /dev/ttyUSB1. It’s possible to reference the serial port by-id for a more robust solution:
ls /dev/serial/by-id/*
example response:
/dev/serial/by-id/usb-Silicon_Labs_CP2102N_USB_to_UART_Bridge_Controller_589399f65987ec118b30e33719c2d21c-if00-port0
Modify the emonhub.conf entry with the full path e.g:
[[[init_settings]]]
    com_port = /dev/serial/by-id/usb-Silicon_Labs_CP2102N_USB_to_UART_Bridge_Controller_589399f65987ec118b30e33719c2d21c-if00-port0
433MHz radio data connection
Data can be transferred between the emonTx4 and emonPi via 433MHz radio.
A key thing to watch out for here is that the default radio packet format for the latest emonTx4 is based on the LowPowerLabs RFM69 code which is not compatible with an emonPi running the original JeeLib ‘classic’ code.
It is however easy to change a new emonTx4 to transmit using the original JeeLib classic format so that compatibility is maintained.
Alternatively it is possible up upgrade the firmware on an existing emonPi system to use the LowPowerLabs RFM69 radio format which offers hardware encryption and a packet acknowledgment/retry mechanism to minimize packet loss. LowPowerLabs firmware is also available for existing emonBase systems. Both are upgradable via the local Emoncms > Admin > Firmware update tool.
1. Shop option at time of purchase
It’s possible to select the firmware version in the shop when buying an emonTx4:
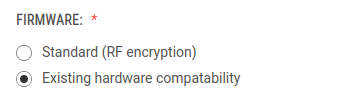
Standard: LowPowerLabs radio format. Existing hardware compatibility: JeeLib classic format.
Continue to EmonHub Configuration below.
2. Using an emonPi to update/change the emonTx4 firmware
The easiest way of updating or changing the emonTx4 firmware is to connect it to an emonPi or emonBase with a USB cable and then use the firmware upload tool available at Setup > Admin > Update > Firmware.
Select the emonTx4 USB port, usually ttyUSB0. Select emonTx4 hardware and then for existing hardware compatibility, select RFM69 JeeLib Classic in the Radio format drop down. Click Update Firmware to upload.

Continue to EmonHub Configuration below.
3. Manual firmware compile and upload
It is also possible to compile and upload the firmware with the radio format option set as desired, manually.
Start by following the EmonTx4: How to compile and upload firmware guide on the Firmware page.
At the top of the EmonTx4 firmware you will see the option to define the RadioFormat:
// 2. Set radio format
// Options: RFM69_JEELIB_CLASSIC, RFM69_JEELIB_NATIVE, RFM69_LOW_POWER_LABS
#define RFM69_LOW_POWER_LABS
For existing system compatibility change to:
#define RFM69_JEELIB_CLASSIC
Continue to EmonHub Configuration:
EmonHub Configuration
To receive the emonTx4 data on your existing emonPi/emonBase there is one last step and that is to add a node decoder configuration to emonhub.
On your emonPi/emonBase navigate to Setup > EmonHub > Edit Config. Scroll down to the bottom of the config file and add the following emonTx4 configuration:
[[17]]
    nodename = emonTx4_17
    [[[rx]]]
        names = MSG, Vrms, P1, P2, P3, P4, P5, P6, E1, E2, E3, E4, E5, E6, T1, T2, T3, pulse
        datacodes = L, h, h, h, h, h, h, h, l, l, l, l, l, l, h, h, h, L
        scales = 1.0, 0.01, 1.0, 1.0, 1.0, 1.0, 1.0, 1.0, 1.0, 1.0, 1.0, 1.0, 1.0, 1.0, 0.01, 0.01, 0.01, 1.0
        units = n, V, W, W, W, W, W, W, Wh, Wh, Wh, Wh, Wh, Wh, C, C, C, p
Alternatively if you have an up-to-date emonhub installation you can try our new autoconf feature. Add autoconf = 1 just under the [hub] heading at the top. E.g:
[hub]
    loglevel = DEBUG
    autoconf = 1
The emonTx4 node should now automatically be detected and appear in the emoncms inputs list.